Started with Rubik's brand 3x3 cube, circa 2005. Unstickered it. (Curiously, some of the stickers had slid in position, as if the glue had melted.) Plenty of sticker glue residue. Goo Gone worked. Washed off Goo Gone with dish soap and water, but the Goo Gone had seeped into the cube core. (Update: WD-40 is also a good solvent to remove sticker and tape residue.) Watched YouTube videos on disassembly of Rubik's brand cubes. Disassembled, requiring a screwdriver to pry off the first edge piece. Soaked all pieces in hot soapy water and rinsed. The corner cubies are constructed of a main piece and a small plate. The seal between them is not watertight, so water seeped into the corner cubies (can hear it by shaking). Unable to remove the plate. Shaking the cubies got rid of most of the water. Allowed to let dry for 24 hours with the seal resting on a paper towel: maybe capillary action will draw out some more water. Reassembled. All pieces are asymmetric: unsure whether orientation of the pieces matters, assuming not.
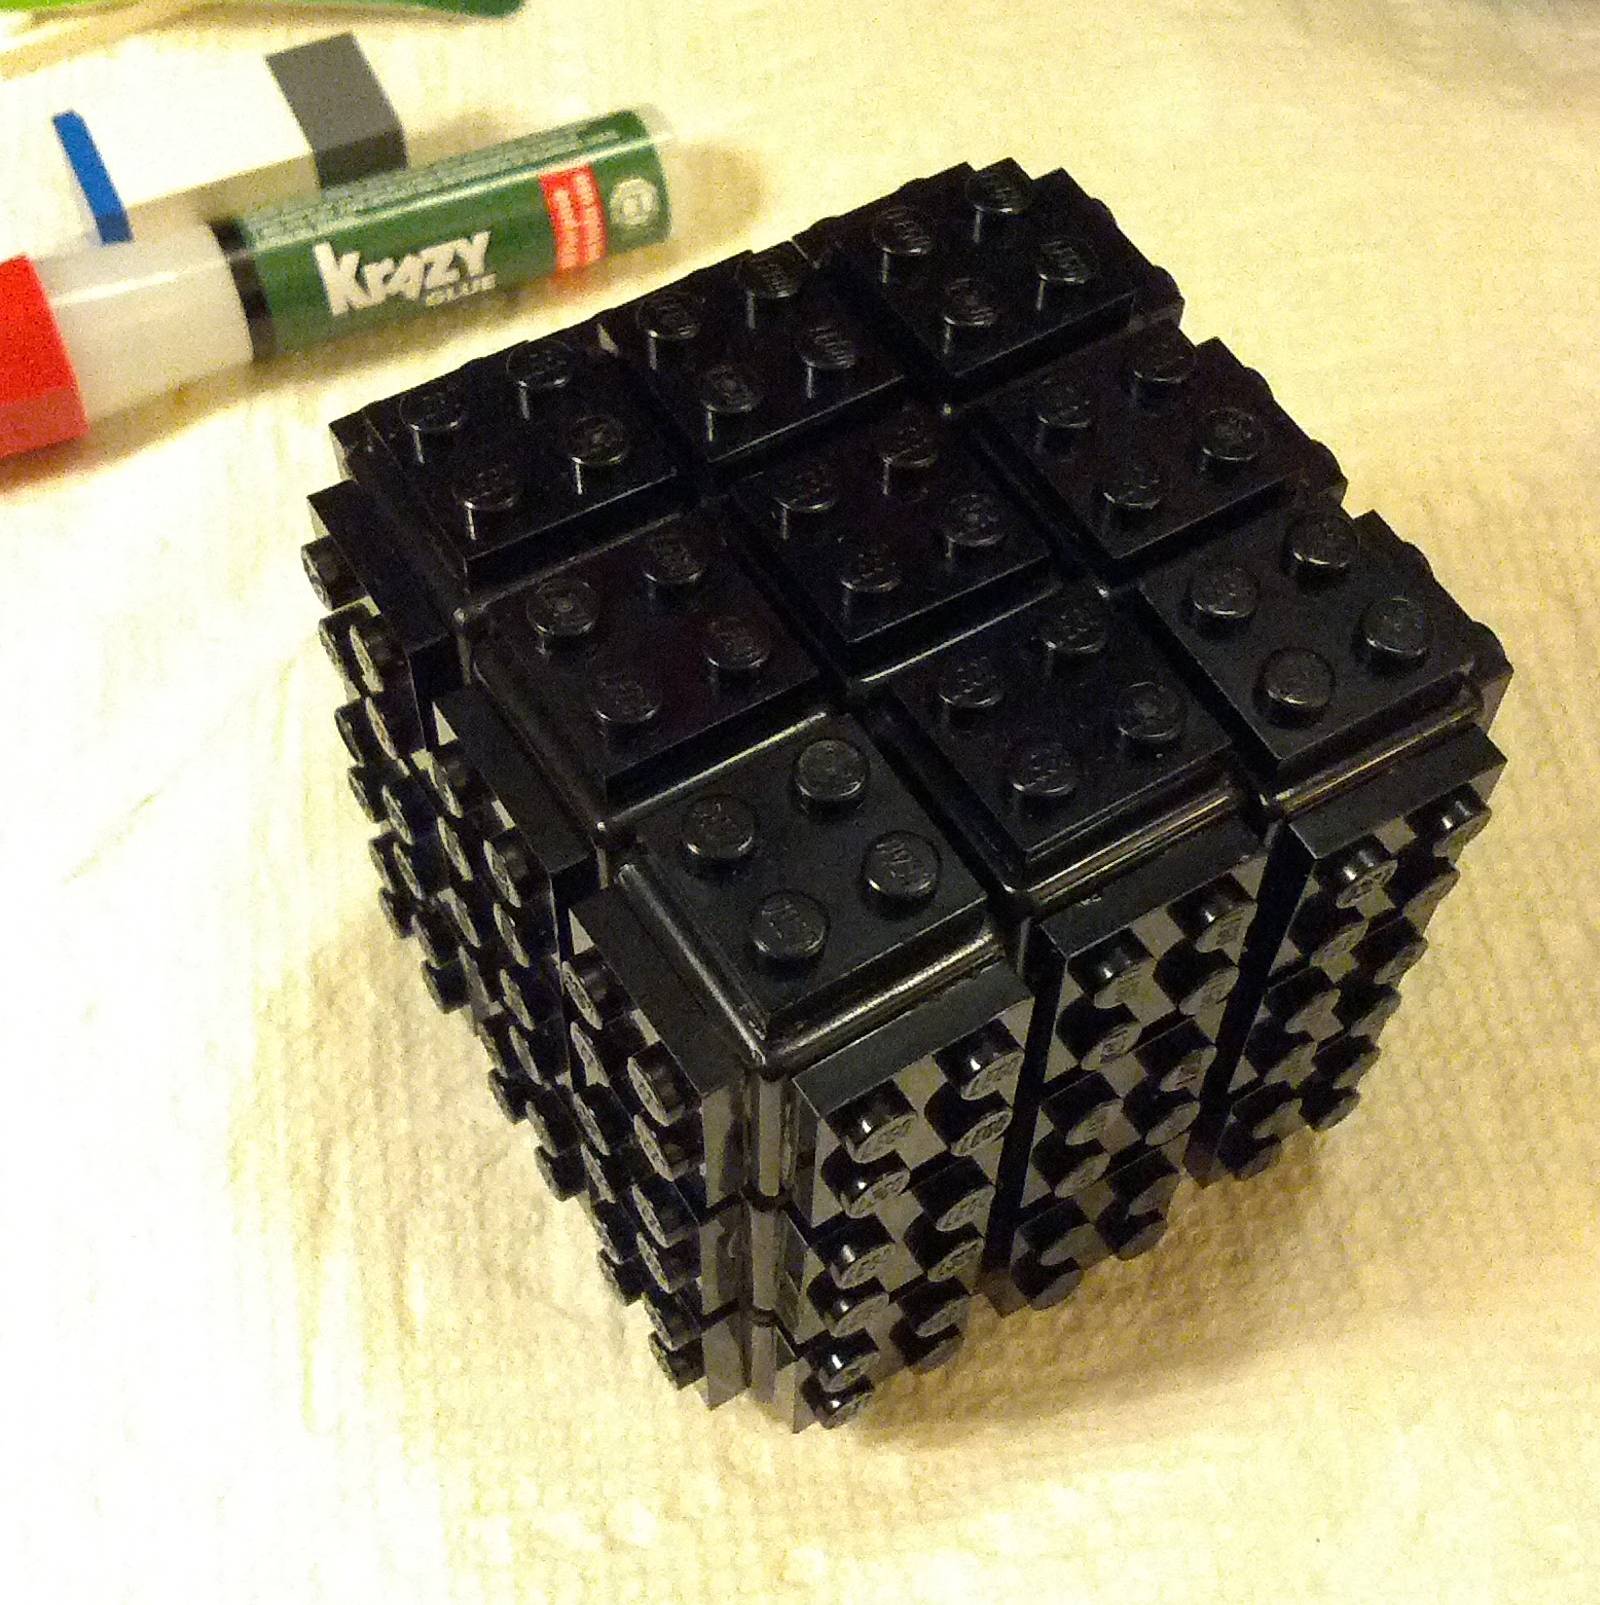
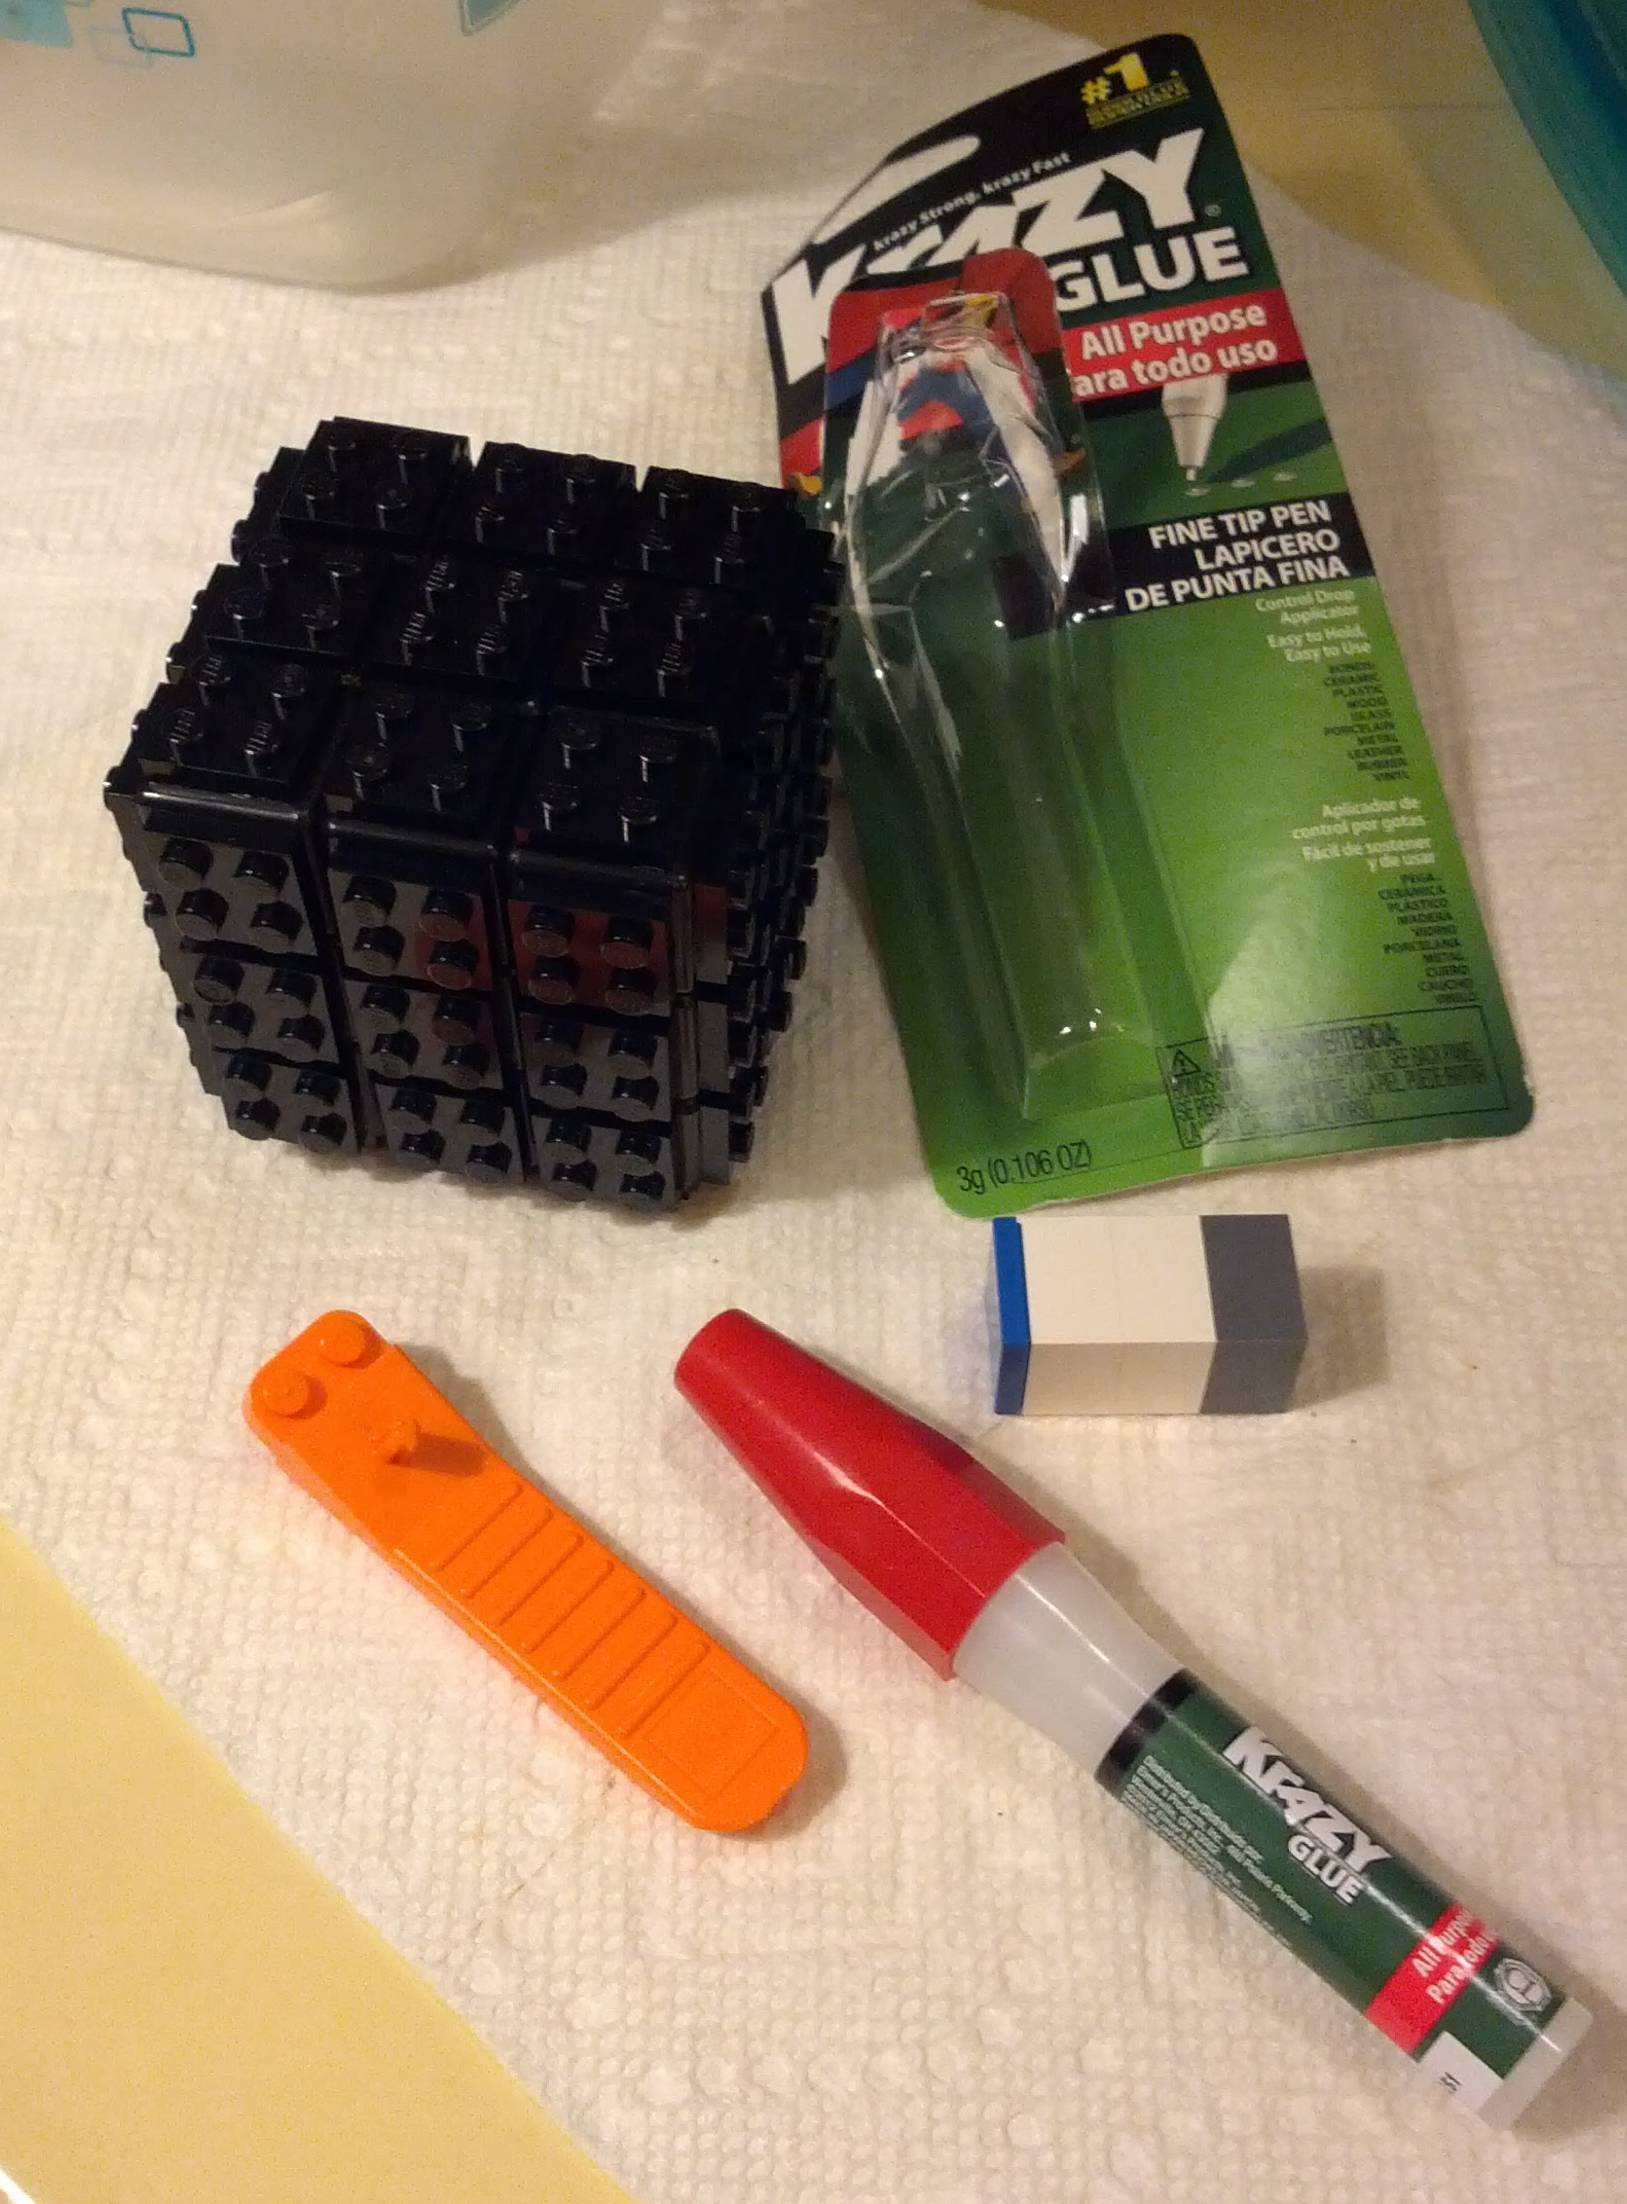
Attach black Lego 2x2 plates on each cubie face. Hard to attach the plates perfectly parallel to each other, did not try. Krazy Glue Pen Tip worked not great but OK; hard to apply enough glue to the plate before it dried. Be careful not to have too much glue leak beyond the tile, or else you might glue your cube together. Attached a stack of plates terminated by a flat tile, less painful on the hand while pressing for 30 seconds for each plate as directed on Krazy Glue instructions. This took a while: 54 plates.
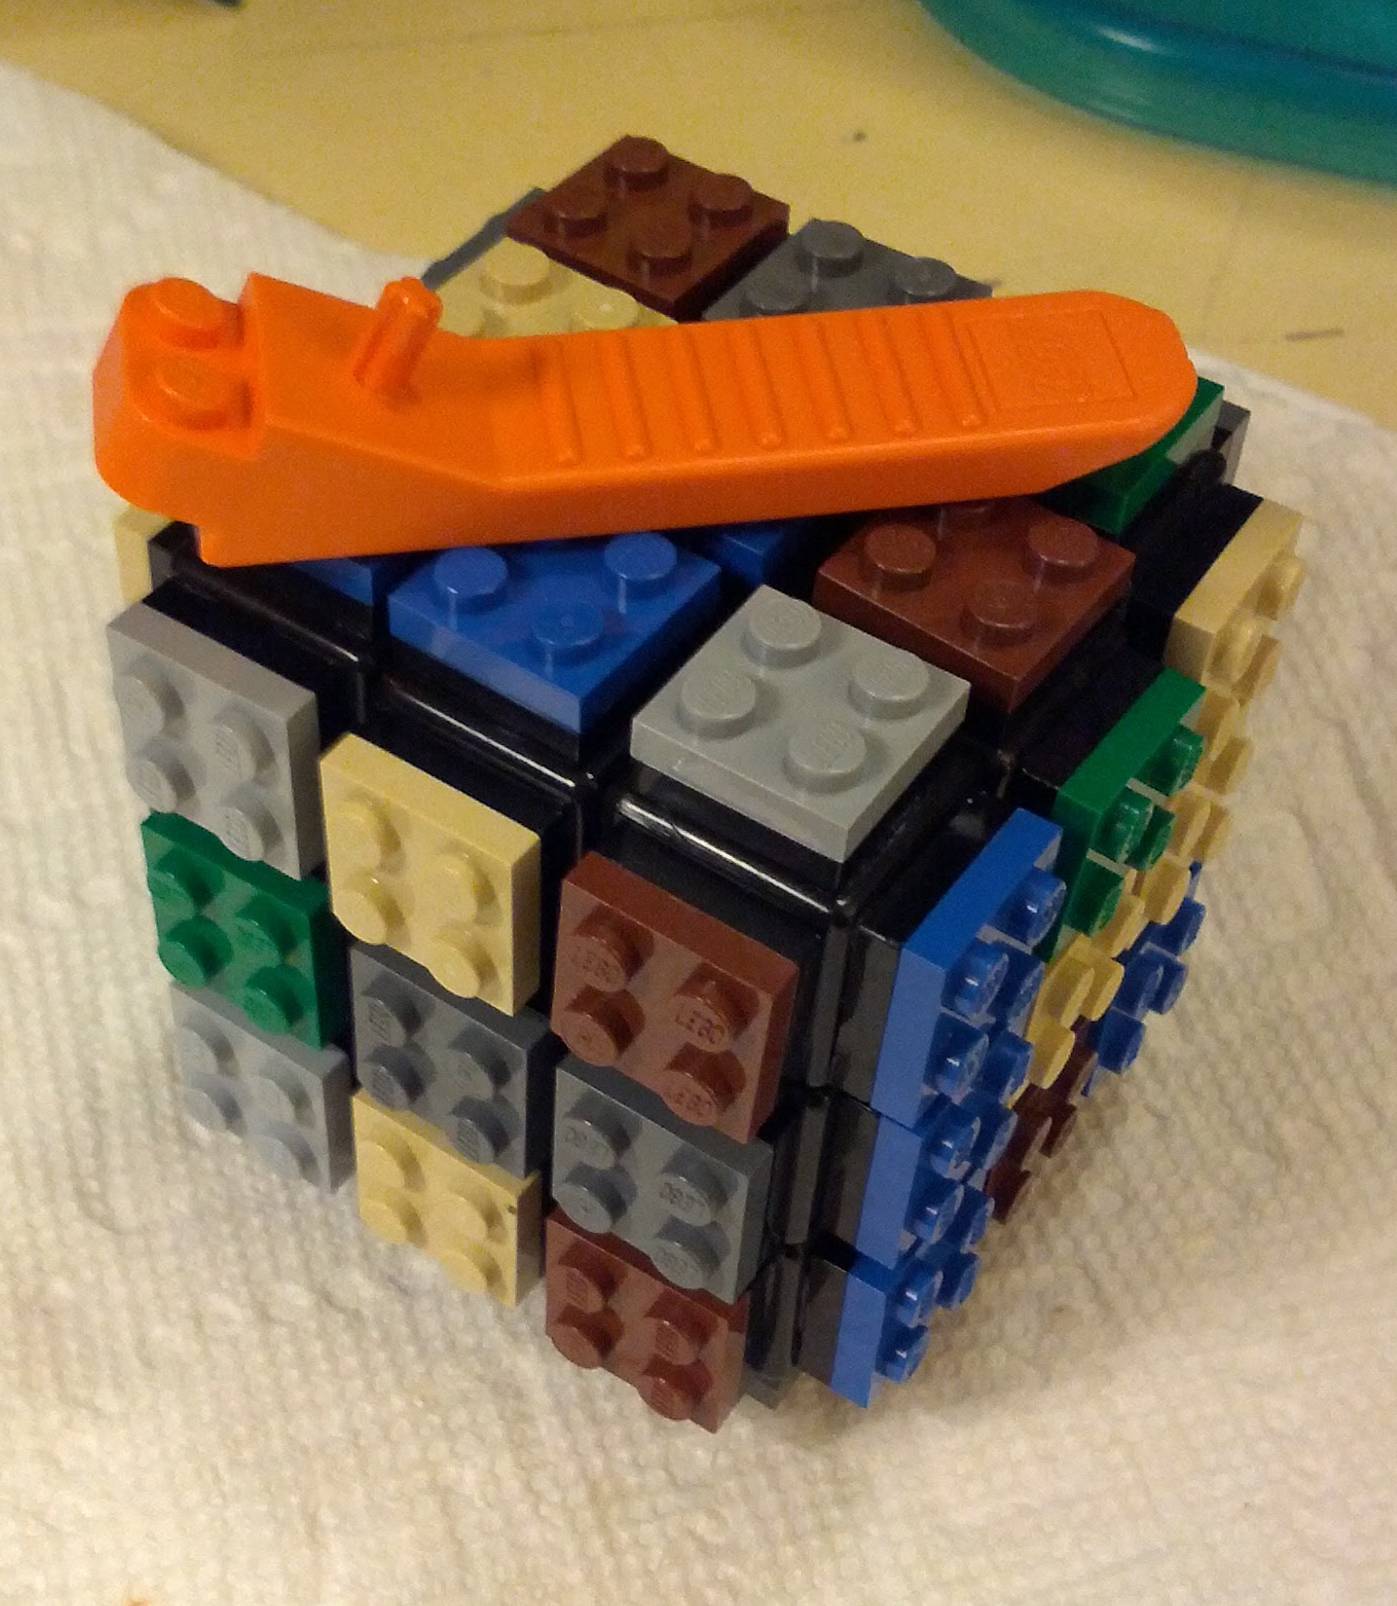
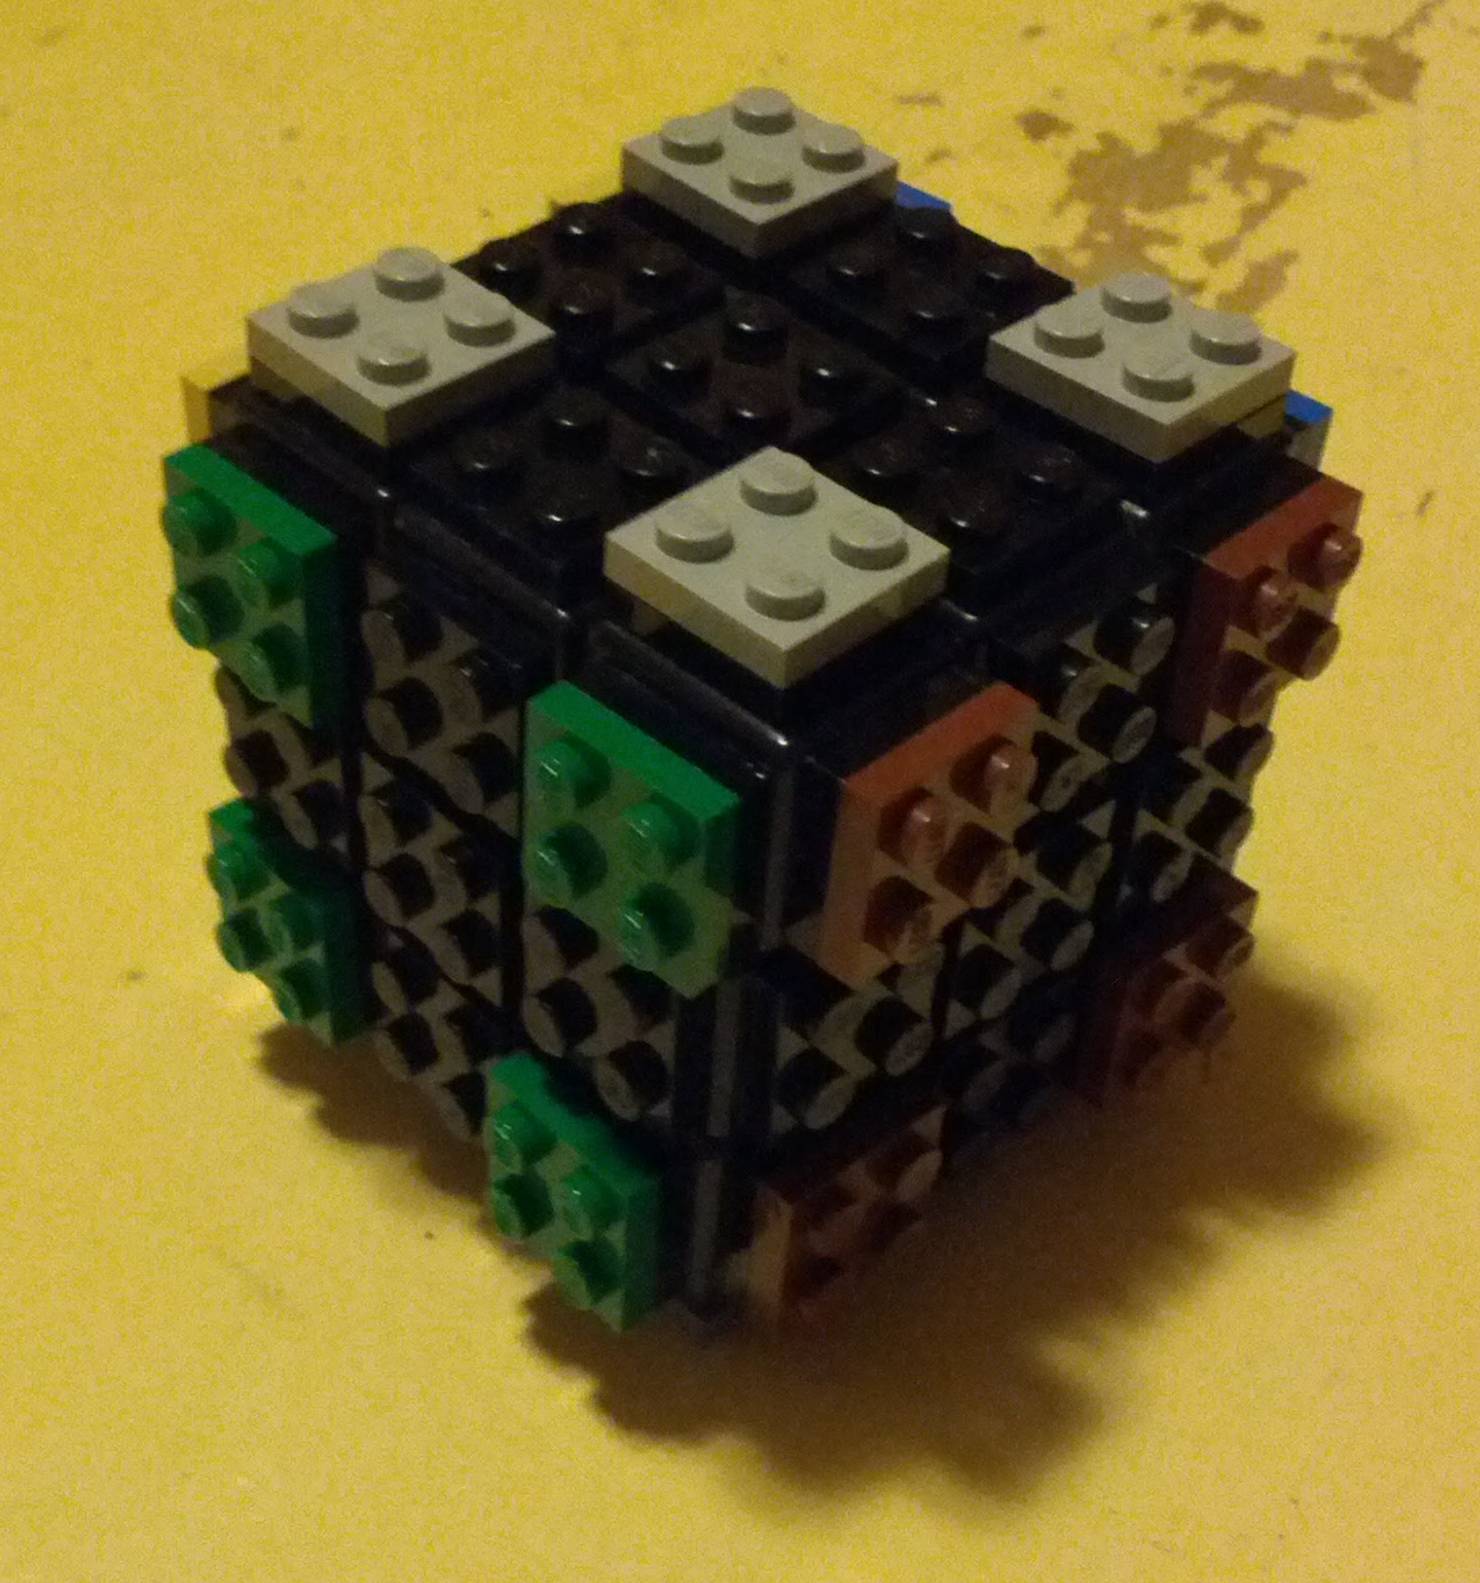
Attach a second colored plate over each black plate. They are easily removable with a brick separator (orange tool). The center plate cannot be removed unless an edge plate is removed first, though one rarely actually needs to remove the center plate. The goal of this project was to make a cube that is easy to solve by disassembly (unstickering), to lower the barrier of entry for beginners.
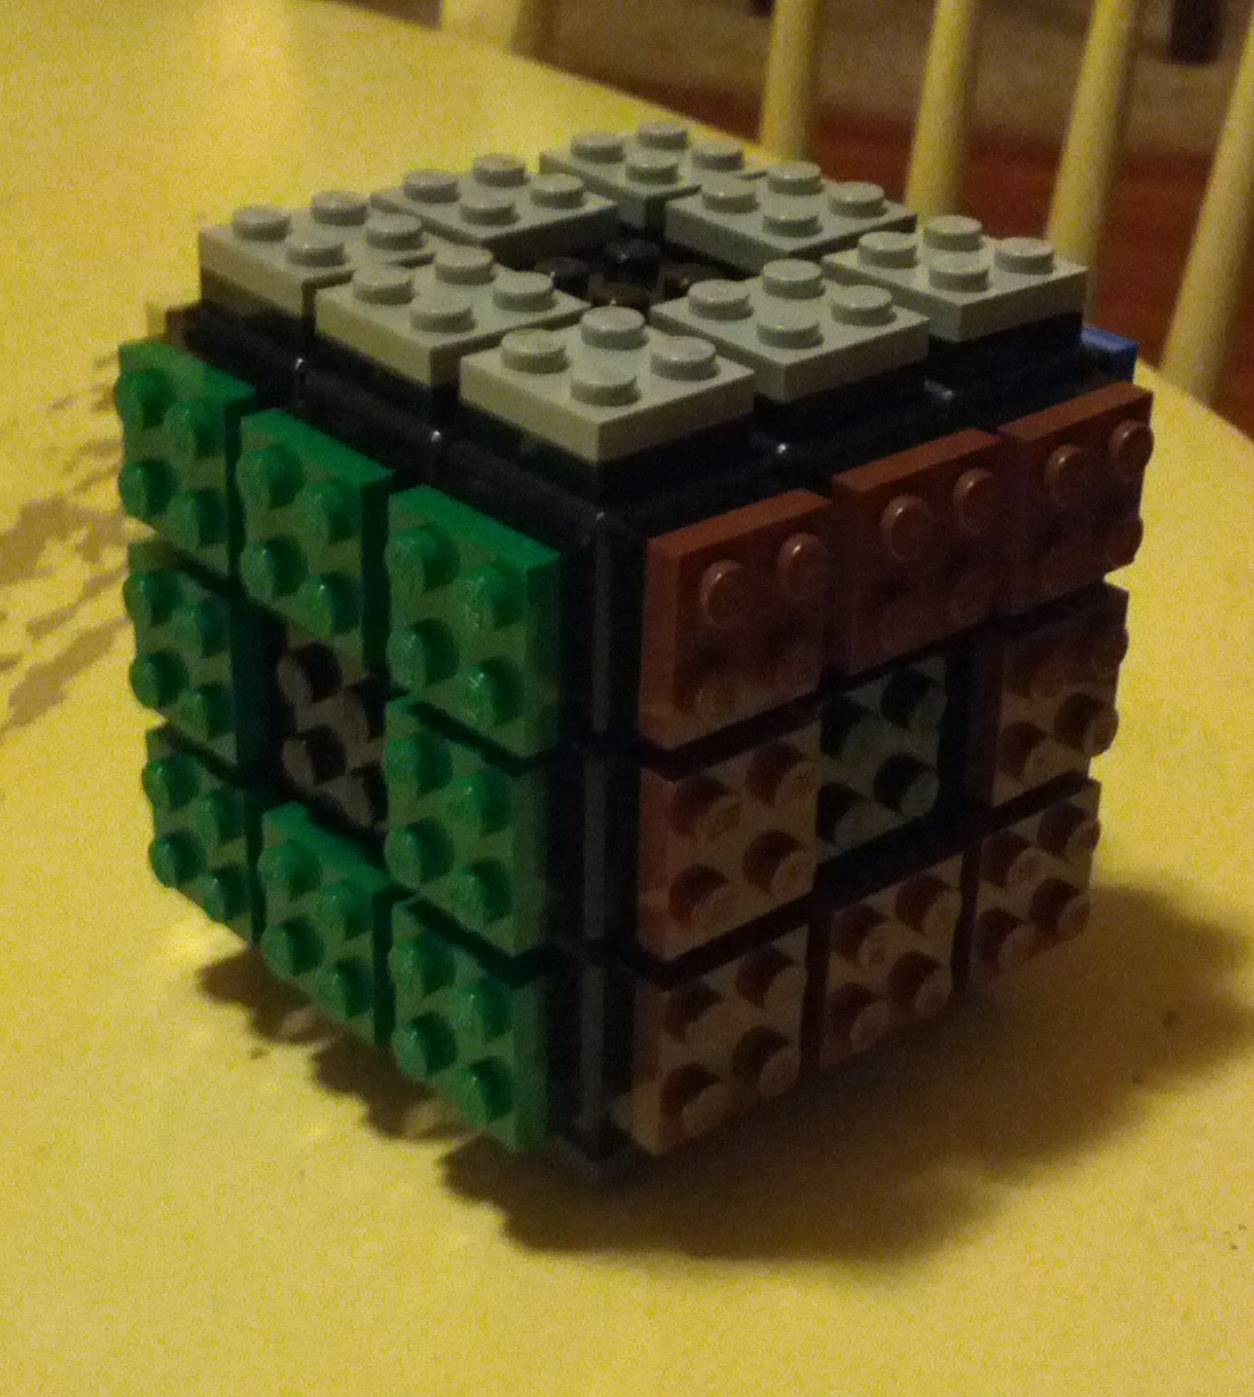
One can easily create a Void Cube (remove the center plate):
and a 2x2 (remove center and all edges, keeping only corners):
The spikiness of Lego nubs makes turning slightly painful in the hands. (Previous thoughts on how difficult the Rubik's brand cube is to turn.)
Lubrication with Vaseline worked well. The nooks and crannies of all the Lego nubs meant one cannot wipe off all the excess Vaseline easily.
Overall, this has been a very fun cube, because one can simulate many puzzles easier than the full 3x3 Rubik's cube. Because I do not know how to solve the full 3x3 Rubik's cube, the simpler puzzles are entertainingly challenging. I feel I am working up toward learning how to solve a full 3x3 on my own, without having to look up any algorithms developed by someone else.
Future: repeat the whole project with a cheap speedcube (YJ GuanLong). The low weight of the GuanLong may be useful because adding two layers of Lego plates adds a lot of weight.
RedKB on Youtube demonstrated a bandageable 3x3 built out of a Mini QJ, but I currently have no interest in making a puzzle even more difficult than a plain 3x3.
No comments :
Post a Comment